
How to apply press-on nails A few minutes,
salon finish.
Everything you need is in the kit. Take your time the first go, and it gets quicker every time.
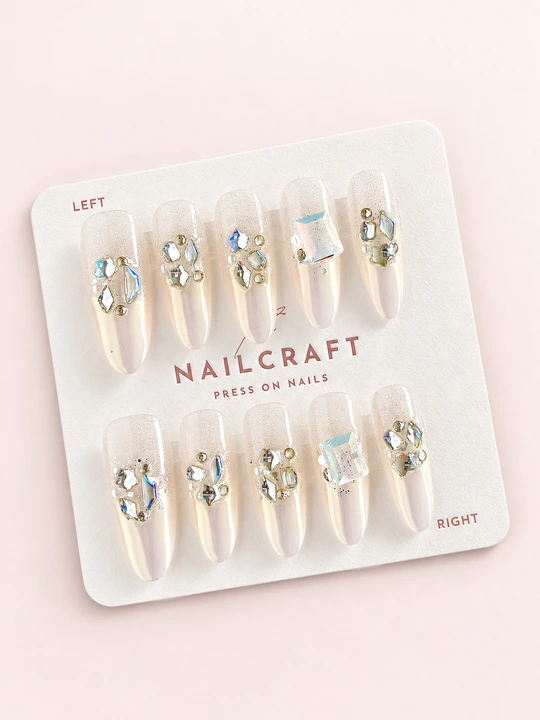

-
01
Prepare
Wash and dry your hands. Gently push back your cuticles with the cuticle tool, then lightly buff the surface of each nail with the file.
-
02
Cleanse
Wipe every nail with the alcohol wipe to remove oil, then let them dry completely. A clean, dry nail holds best.
-
03
Match your sizes
Lay out the ten nails and pick one for each finger before you start. Choose the size that covers your nail from side to side without touching the skin.
-
04
Add the tab
Peel an adhesive tab and press it onto your natural nail, then lift away the top film.
-
05
Press and hold
Place the press-on at your cuticle, angle it down onto the nail and hold firmly for 20 to 30 seconds. Press the sides too.
-
06
Let it settle
Keep your hands out of water for the first hour for the strongest hold.
-
01
Soak
Soak your fingertips in warm, soapy water for 5 to 10 minutes. A few drops of oil helps the tab release.
-
02
Lift gently
Slide the cuticle tool under the side of the press-on and rock it slowly. Never force or pull.
-
03
Clean up
Peel away any leftover adhesive from the press-on and from your natural nail.
-
04
Keep for next time
Dry each nail and store the set in its case, ready for your next plan.
In your kit
Already in
the case.
24 strong-hold adhesive tabs, a nail file, a cuticle tool and an alcohol wipe. Tabs last 3 to 5 days. For up to two weeks, use UV-cured tabs, sold separately.
